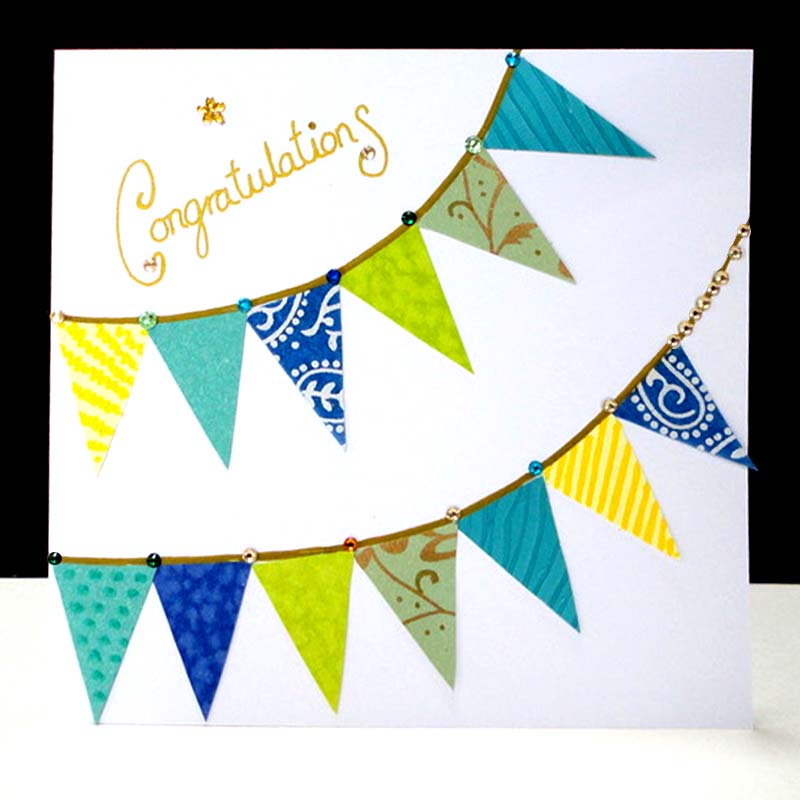
Are you looking for new projects to keep you occupied? Or perhaps you want to take up a new craft to bring out all those hidden creative talents? Making cards is a great way to produce something decorative and perfect for sending to others.
I created a range of Handmade cards so I could respond to customers’ needs, through extending my range of cards for all events and occasions without large print runs and offering an additional option for personalisation. I do use the Illustrator and Photoshop programs, but I appreciate that this may not be possible for everyone; therefore, these ‘How to Make’ blogs are much more hands-on, and craft based.
This Congratulations Card is the third in my ‘How to Make’ series. Its subject range is extensive as covers passing exams, driving test, a new job, new home, winning something, arrival of a new baby, and even for a wedding and an engagement. So, I think a design needs to be perfect to adapt it to suit many occasions.
You can draw inside the bunting or cut out items that relate to the subject, use fabric, newspaper, foil or any material to make it interesting.
I believe this Congratulations Bunting card fits the bill!
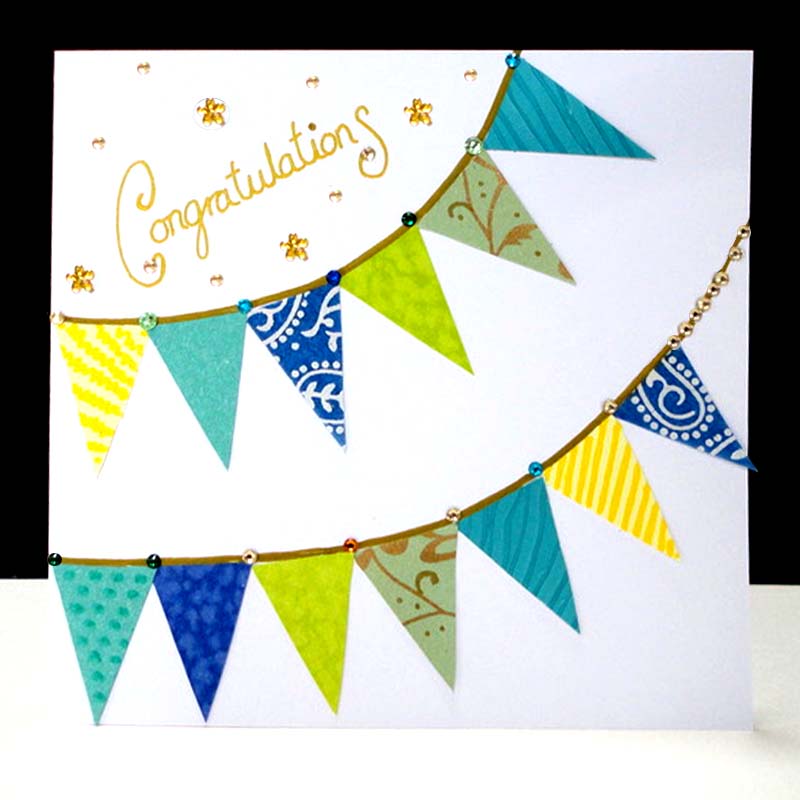
Make this lovely Congratulations Card with easy-to-follow instructions. With your own choices of material, colour and text you can really make it your own design
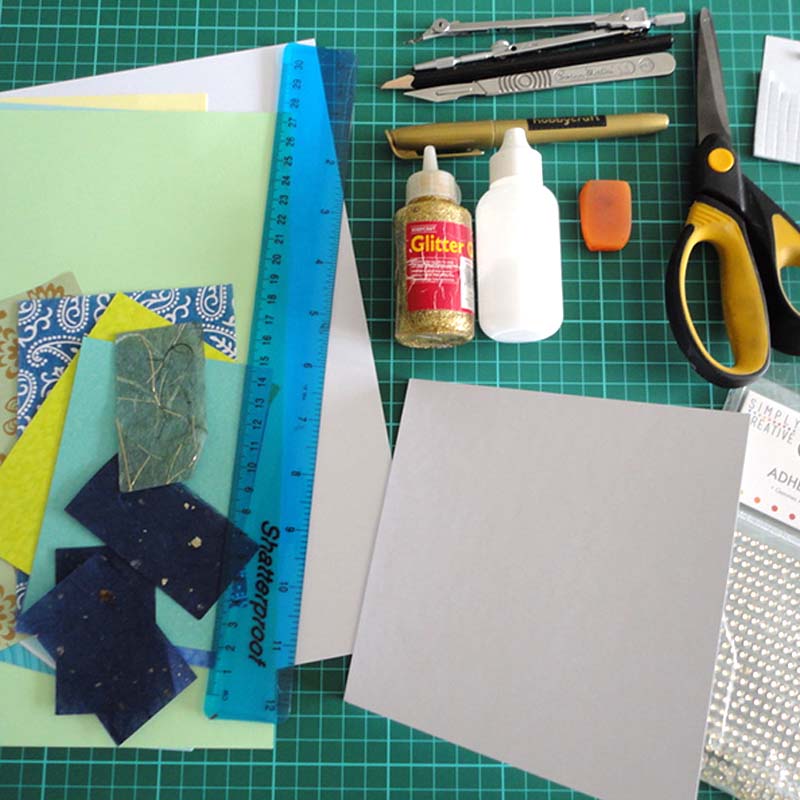
What You Will Need to Make Your Own Handmade Congratulations Card
Equipment:
- Scissors
- Scalpel
- Ruler and Compass
- Pencil, gold/metallic pen
- White paper, tracing paper
- Adhesive foam pads
- Clear drying glue and a
- Felt pens
Materials:
- Plain white card & envelope 150 x 150 mm (or make your own from a sheet of A4 card)
- A selection of plain and patterned papers/fabrics
- A picture of flowers – or images from the Internet / flowers you’ve hand painted yourself.
- Glitter Glue Gold as an option
- Glass gems – amber, gold, blues and greens coloured. A few star or flower shaped.
Most of these products are available from Hobbycraft, The Works or other craft/art shops
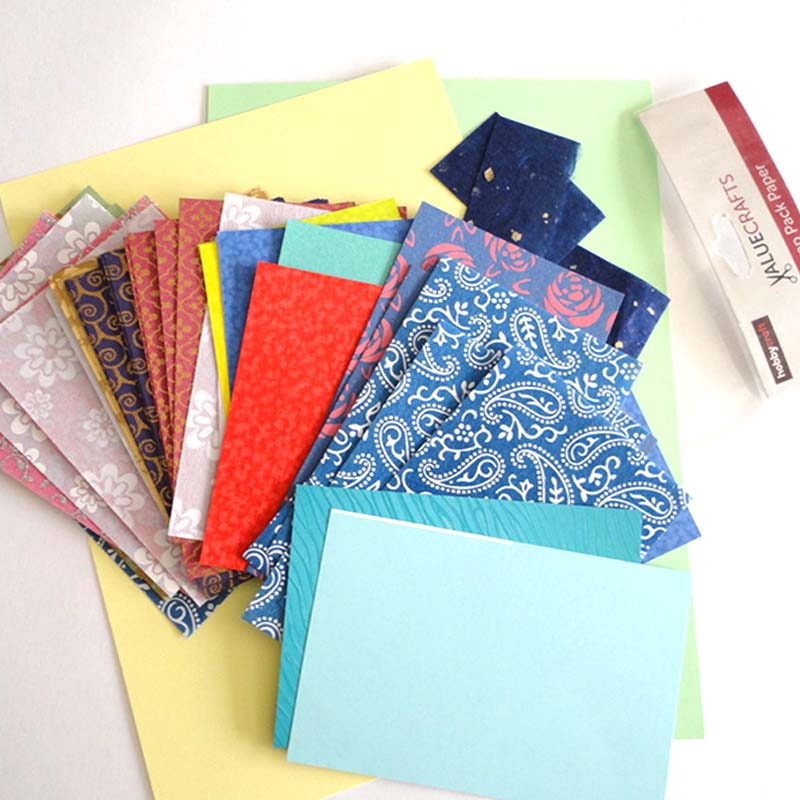
I have a large selection of paper to choose from, many just from a value pack of papers I bought ages ago, I just add to them with other items I save, such as wrapping paper, cards or any patterned packaging.
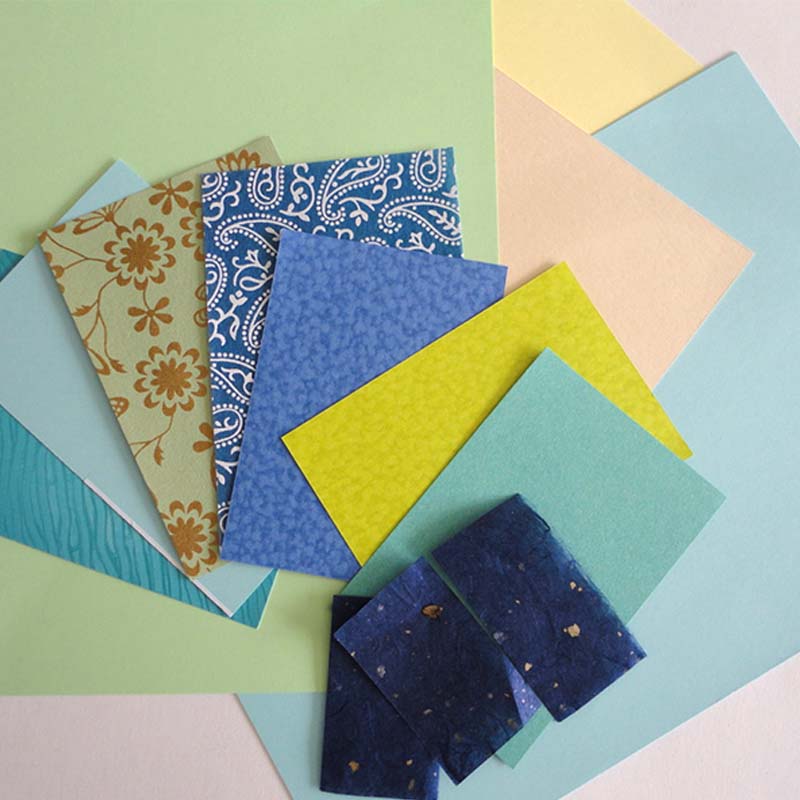
I have selected plain and patterned paper in the yellow, green and blue colour range; I may not use all these but will see what coordinates best.
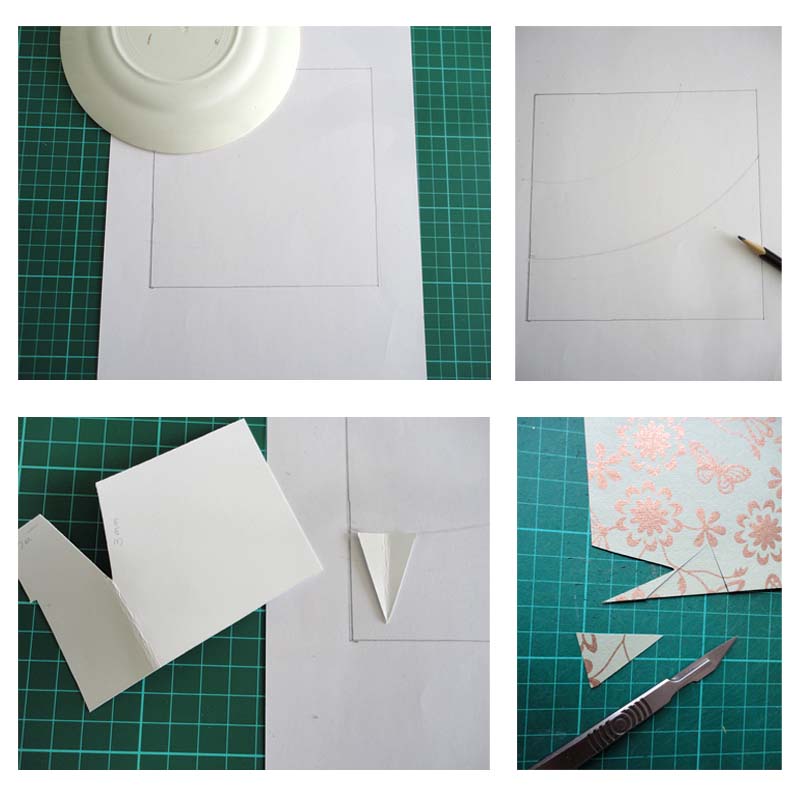
I always like to try a new idea out on paper first, so I drew a 150 x150mm square the same size of the card. The bunting is going to hang in curves diagonally across the card. Here, you can use your compass or like me use a tea plate! I often use any crockery at hand to get circles or curves. The second curve I drew freehand, but you can use a bigger plate or compass.
The bunting is going to have elongated triangular flag shapes, 20mm wide by 30mm high.
Cut out in card this will be my template to use on all the other papers I’ve chosen.
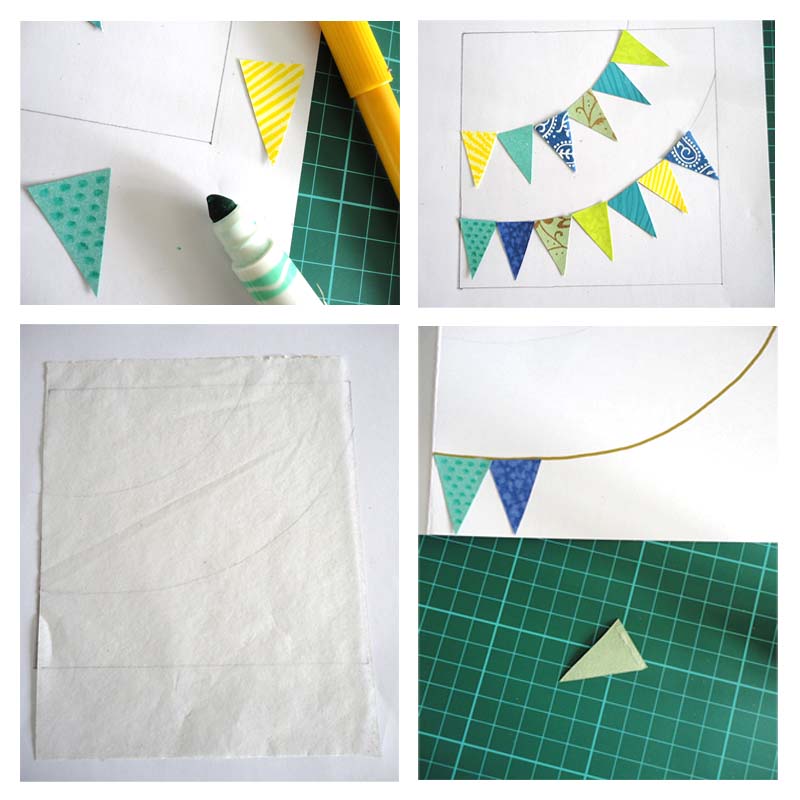
If some of the plain papers look a little flat, then bring them to life by using felt pens to add stripes, dots or pattern.
When you have cut out enough pieces try arranging them first on your drawing so you get the right balance of pattern and colour and have a good idea of how they will look on the finished card.
Trace the lines onto the card front and mark them with gold pen; then you can begin to stick your bunting on.
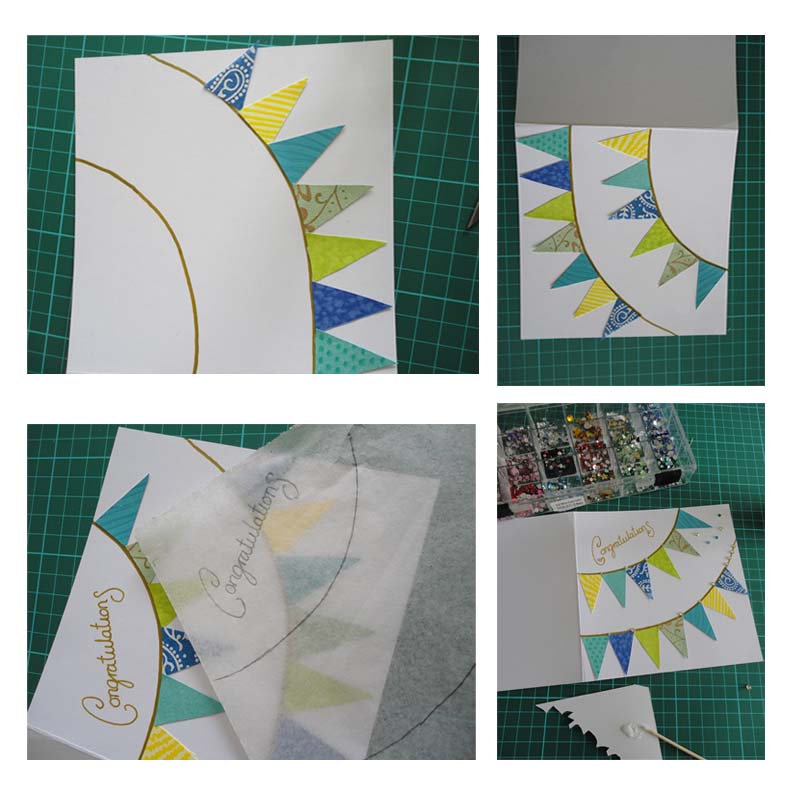
I have only glued the top edge of the bunting, so it looks authentic. Please leave to dry before attempting the text.
I wrote Congratulations by hand then traced in on to the card to get a fluent text, going over the text in gold pen. This area of the card has plenty of space for a name to be added if needed. Glass gems are then positioned in between each flag and more are spaced around the text at the top with a few gold flower shaped gems I found in my embellishment box. Or, you can use glitter glue as highlights.
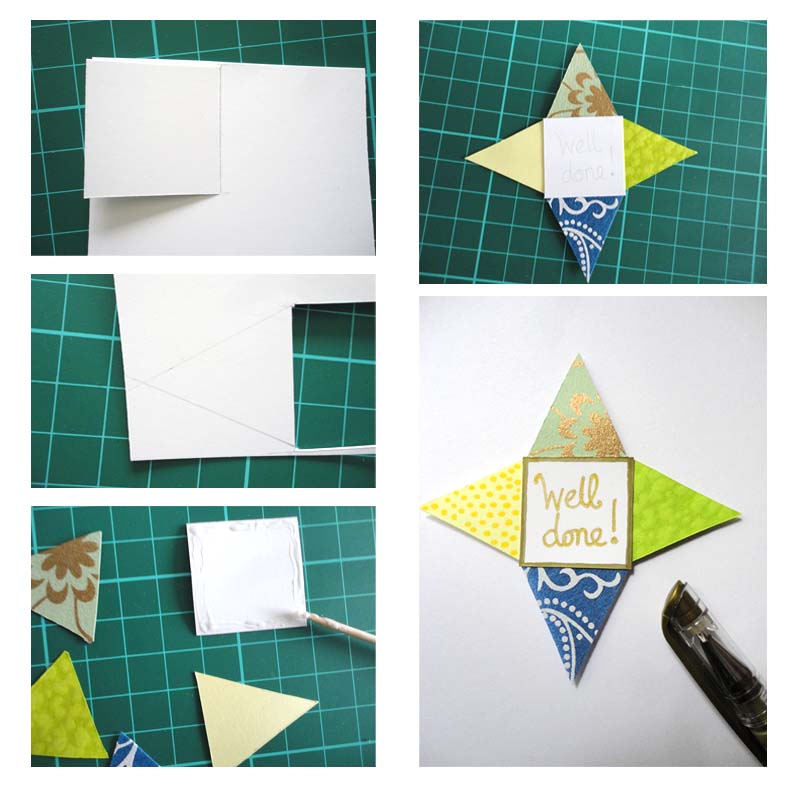
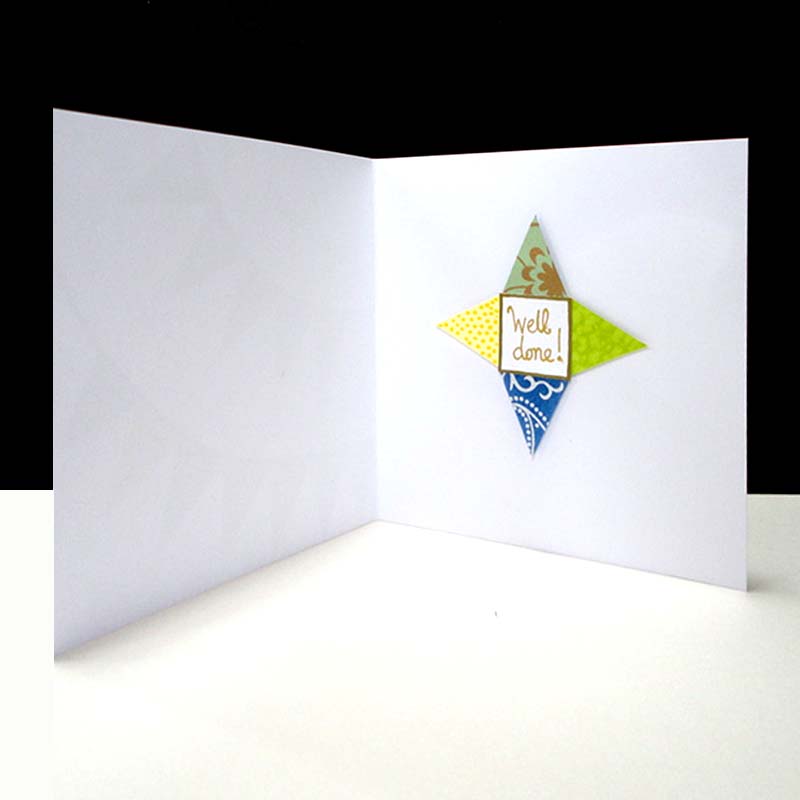
I love it when a card is opened, and the recipient is surprised to see a crafted message inside; it just adds that extra touch to a truly original card. The shape I’ve chosen reflects the design on the front in colour and shape.
Draw a small square 30 x 30mm on white card and then draw a triangle from two corners up, central line 30mm in height, cut both out separately. Using the triangle template, cut out four triangles in the different papers, stick their edges under the square and leave to dry.
Then edge the square in gold pen and write your text inside. This can then be mounted inside the card in a central position with foam pads.
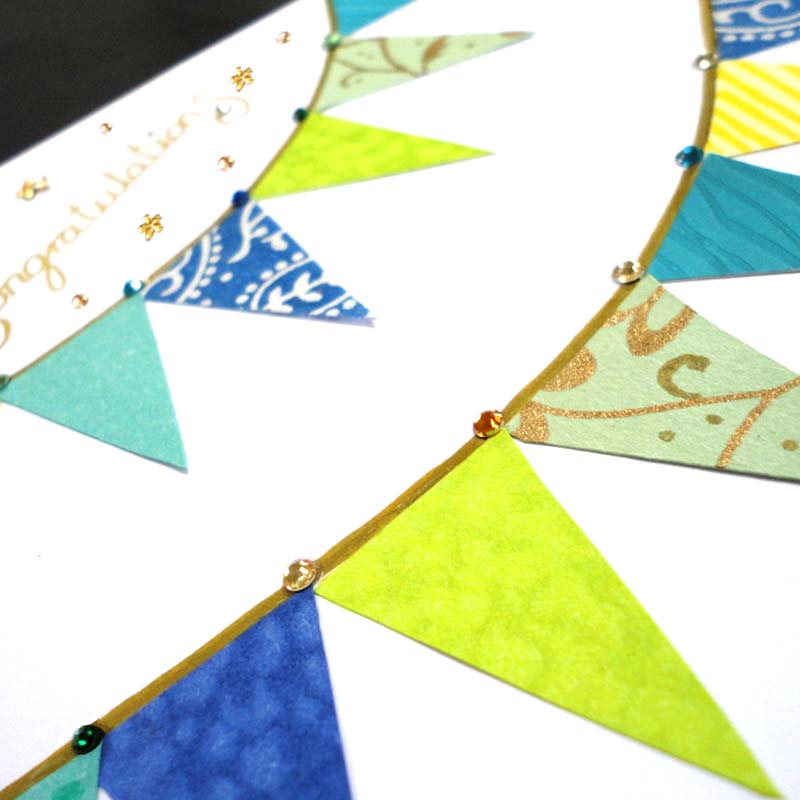
I hope I have inspired you to make this card and may be others, just have fun experimenting with different materials, and create a truly original design!

